Hello sweeties,
So I was wandering around Walmart one night trying to figure out what to make next, when I stumbled into the baking aisle, and there in all its glory was a box of Duncan Hines Salted Caramel Brownie Mix, which by itself sounded amazing, but I decided to take it one step further, because why not? So I picked up a few more things and turned regular old brownies into a s’mores brownie medley of sorts.

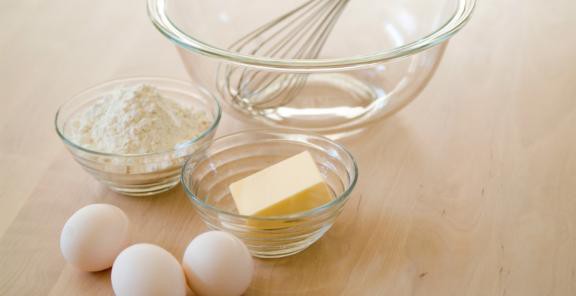
Here’s what you’ll need:
- 9×9 baking pan, a bowl, a spoon, and a handheld baking torch*
- box of Duncan Hines Salted Caramel Brownie Mix with caramel sauce inside
- bag of JetPuffed miniature marshmallows
- hot fudge
- 2 eggs
- 1/3 cup of vegetable oil
- 1/3 cup of water
First, preheat your oven to 350°F. Grease the bottom of the pan with shortening or cooking spray, so you’re brownies don’t stick. Make sure you get the sides of the pan because the marshmallows will be super sticky once you add them.
Prepare the brownie batter according to the box instructions. Then pour half of the brownie batter into your pan. Drizzle half of the caramel sauce packet on to the brownie batter, and use a knife to swirl it into the mix by dragging the knife gently across the top. DON’T mix it in. Then pour the rest of the brownie mix and do the same thing again with the rest of the caramel sauce on top of the brownies.
This is just to make sure you have caramel swirled into the entire brownie and not just the top layer.
Bake for 30-35 minutes or until ready. (You can use a toothpick to check– it should come out clean, when you poke the center of the brownies.)
Two minutes prior to your brownies being ready, add a lay of marshmallows to the top of the brownies, and put them back in the oven to get ooey and gooey!
When that’s done, remove them from the oven and use your baking torch or a lighter to toast the top layer of marshmallows until the desired toast-iness.
Microwave your hot fudge to make it easy to pour and then drizzle that over your brownie square and enjoy the magic that I call “kinda s’mores” brownies.
Stay sweet!


